Antelope Canyon Photography Tips
Antelope Canyon is the most photographed slot canyon in the world, which means it is also one of the most difficult places to take a photograph that has not already been taken a million times. The light is extreme — bright sky openings above, dark shadowed walls below, and reflected orange light everywhere in between. The crowds are constant — even on a "quiet" tour, you are sharing the canyon with a dozen other people, all trying to frame the same shot. And since 2019, tripods have been banned on standard tours, which means every shot is handheld in dim light.
The good news is that the canyon is forgiving. The sandstone curves are naturally photogenic. The reflected light creates warm, saturated tones that need little enhancement. And with the right settings, timing, and approach, you can come away with images that stand out from the thousands of identical shots posted online every day.
This page covers the technical and practical aspects of photographing Antelope Canyon — camera settings, phone techniques, light beam timing, the tripod ban workarounds, and how to shoot in a crowded, dim, sandy environment without damaging your gear.
Understand the Light Before You Shoot
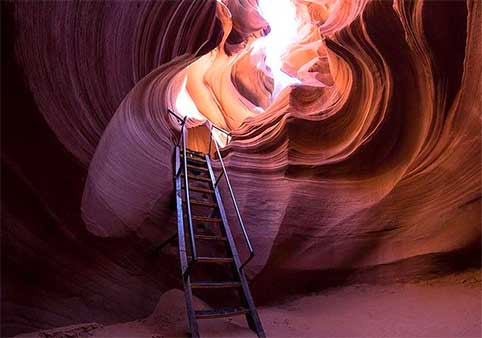
Slot canyon light is unlike any other landscape lighting. There are three distinct light sources working simultaneously, and your camera will struggle to balance them:
- Direct sunlight: Beams through the open top of the canyon, creating the famous vertical shafts of light. These are 5 to 10 stops brighter than the canyon walls and will blow out completely if you expose for the shadows.
- Reflected light: The orange and purple sandstone walls bounce light onto each other, creating warm, saturated tones on surfaces that receive no direct sun. This is the light that gives Antelope Canyon its color.
- Shadow: The lower portions of the canyon, away from the openings, are genuinely dark — often 8 to 10 stops below the direct beams.
Your camera's meter will try to average these extremes and produce a grey, flat image. You must override it. The goal is not to capture everything in one frame — the dynamic range is too extreme for any sensor — but to choose what matters and expose for that.
Light Beams: When and Where They Appear
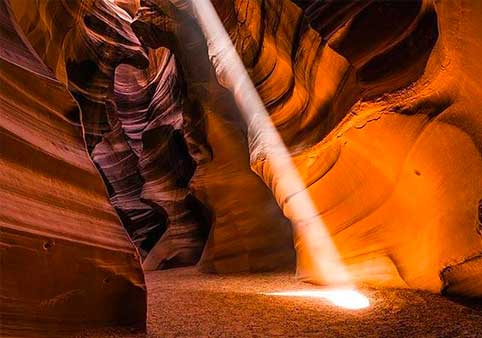
Light beams only appear in Upper Antelope Canyon, and only during a specific window: late March through mid-October, between roughly 11:00 a.m. and 1:00 p.m. The sun must be high enough to shine directly through the narrow opening at the top of the canyon. Outside this window, the sun angle is too low and the beams do not form.
Inside the canyon, the beams move as the sun crosses the sky. They appear first on the eastern wall around 11:00 a.m., shift toward the center by noon, and migrate to the western wall by 1:00 p.m. Your guide will know where the beams are on any given day and will pause the group at the best spots. Do not wander off to find them yourself — the canyon is a one-way route and you will hold up the entire group.
The beams are most visible when there is dust in the air. Guides sometimes throw sand into the beam to make it visible — this is a standard practice, not a gimmick. The dust particles catch the light and create the solid-looking column you see in photographs. If the air is too clean after rain, the beams may be faint or invisible even at the right time.
Camera Settings for Handheld Shooting
Since tripods are banned on standard tours, you will shoot handheld. This means fast shutter speeds, wide apertures, and high ISO. Here are the baseline settings that work for most photographers in Antelope Canyon:
| Setting | Recommendation | Why |
|---|---|---|
| Mode | Manual or Aperture Priority | Auto modes will underexpose the warm walls trying to "correct" the orange color |
| Aperture | f/2.8 to f/4 | Wide open for maximum light; depth of field is not critical in a slot canyon |
| Shutter speed | 1/60 to 1/125 second | Fast enough to freeze handheld motion; slower risks blur |
| ISO | 1600 to 6400 | High enough for a fast shutter; modern cameras handle 6400 cleanly |
| White balance | Manual 5500–6500K | Auto WB will try to neutralize the orange and produce grey-cyan images |
| Focus | Single-point AF on a mid-tone wall | Auto area focus may hunt between light and shadow |
| Image format | RAW (or RAW + JPEG) | Essential for recovering highlights and adjusting white balance in post |
| Exposure compensation | +0.3 to +1.0 EV | Meters tend to underexpose warm-toned scenes; slightly overexpose and pull back in post |
Important: Do not trust your camera's LCD or histogram in the canyon. The orange walls will make the histogram look shifted to the right even when the exposure is correct. Shoot a test frame, review it, and adjust. The RAW file is your safety net — slightly overexposed is better than underexposed, since you can recover highlights more easily than shadow noise.
Exposure Strategy
The classic mistake is trying to capture the beam, the walls, and the shadows in one frame. This is impossible — the dynamic range exceeds what any camera sensor can record. Choose your subject:
- If the beam is your subject: Expose for the beam itself. The walls will go dark. The beam will be a bright column against shadow. This is the iconic shot.
- If the walls are your subject: Expose for the mid-tone orange wall. The beam will blow out. The shadows will go black. The curves and texture of the sandstone will be the focus.
- If you want both: Shoot bracketed exposures and blend in post, or use the HDR function on your phone or camera. Be subtle — overcooked HDR looks artificial.
Phone Photography in Antelope Canyon
Modern smartphones are capable of excellent results in Antelope Canyon. Computational photography — HDR, night mode, and multi-frame blending — compensates for the small sensor and fixed aperture. Here is how to get the most from your phone:
iPhone Settings
- Turn on HDR: The dynamic range inside the canyon is extreme. HDR mode captures multiple exposures and blends them, preserving detail in both the bright beam and the dark walls. On iPhone 12 and later, Smart HDR is automatic in Photo mode.
- Use the ultrawide lens (0.5×): The 13mm equivalent field of view captures the full height of the canyon walls and the narrowness of the slot. The main lens (26mm) is too tight for many compositions.
- Shoot in ProRAW (iPhone 12 Pro and later): ProRAW gives you the computational benefits of HDR and night mode with the editing flexibility of a RAW file. This is the best of both worlds for canyon photography.
- Night mode works: The canyon interior is dim enough that night mode activates automatically, even during the day. It uses a 1–3 second exposure with computational stabilization. Hold the phone steady against your body or a wall for the sharpest result.
- Tap to expose: Tap on the mid-tone wall (not the beam, not the shadow) to set exposure. Then swipe up to slightly increase brightness before shooting.
Android Settings
- Use HDR+ or Scene Optimizer: Samsung, Google Pixel, and most flagship Android phones have aggressive HDR modes that work well in high-contrast scenes. Enable them.
- Shoot in RAW: Most Android flagships offer RAW capture in pro/manual mode. Use it — the editing flexibility is worth the larger file size.
- Use the ultrawide lens: Same principle as iPhone — the wider field of view captures the scale of the canyon.
- Stabilize: Rest your elbows on your body, breathe out, and press the shutter gently. Android night modes are effective but require steadiness.
Phone Photography Tips
- Clean your lens: The fine sand in the canyon will coat your phone lens within minutes. Wipe it with a microfiber cloth before every shot.
- Do not use digital zoom: It destroys image quality. Use your feet or crop in post.
- Shoot vertical: The canyon is tall and narrow. Vertical compositions capture the scale better than horizontal ones.
- Look up: The most dramatic shots are straight up at the sky opening, with the curved walls framing a sliver of blue.
The 2019 Tripod Ban: What Photographers Need to Know
In 2019, tripods were banned on all standard sightseeing tours at Upper and Lower Antelope Canyon. The ban remains in effect as of 2026. Monopods, selfie sticks, and extending camera poles are also prohibited. The reason is congestion — the canyon passages are narrow, and tripods create bottlenecks that back up entire tour groups.
This ban fundamentally changed how photographers experience Antelope Canyon. Before 2019, photography tours with tripods were common. Today, they are extinct at Upper and Lower Antelope. If you want tripod access in a slot canyon near Page, you have three options:
| Option | Location | Price | Notes |
|---|---|---|---|
| Canyon X Photography Tour | Canyon X (Taadidiin Tours) | $142 + $15 permit | 3 hours, tripod permitted, groups ~10, ages 8+ |
| 3 Canyon Photography Tour | Mountain Sheep, Rattlesnake, Owl Canyons | $385 | 3.5 hours, 1 hour per canyon, tripod required, adults 21+ |
| Night Photography Tour | Upper Antelope Canyon | $285 | 3 hours after sunset, tripod required, adults 21+ |
For a complete comparison of all tripod-permitted photography tours near Page, see our slot canyon tours page.
Handheld Technique Without a Tripod
If you are on a standard tour without tripod access, technique becomes everything:
- Brace against the wall: Lean your shoulder or back against the canyon wall to stabilize your body. This is more effective than standing free in the open.
- Elbows in: Tuck your elbows against your ribs to create a human tripod. Hold your breath at the moment of exposure.
- Use burst mode: Shoot 5–10 frames in rapid succession. One will be sharper than the others. Delete the rest later.
- Increase ISO: Do not be afraid of ISO 3200 or 6400. Modern cameras produce usable images at these settings. Noise is easier to fix in post than motion blur.
- Find natural light: Position yourself where reflected light is strongest — near orange walls that bounce light back onto your subject. This gives you more exposure latitude.
What Gear to Bring — and What to Leave Behind
Bring This
- One camera body: You do not need two bodies. The canyon is dusty, and switching bodies increases the risk of sensor contamination.
- One versatile lens: A 24–70mm f/2.8 is ideal. Wide enough for canyon interiors, long enough for detail shots. If you have a 16–35mm, bring it for the ultrawide compositions. If you only have a phone, that is sufficient.
- Microfiber cloths: Multiple. The fine sand will coat your lens, phone, and glasses constantly.
- Plastic shower cap: Sounds odd, but it is the best protection for your camera between shots. Slip it over the camera and lens to keep sand out while you are walking.
- Small crossbody bag: Most operators restrict large backpacks. A small bag that holds your camera, phone, and one lens is ideal.
- Extra batteries: Cold canyon interiors and high ISO drain batteries faster than normal. Bring a spare.
- Lens cloth and blower: For removing sand without scratching the lens coating.
Leave This Behind
- Tripod: Banned on standard tours. Do not bring it — you will be asked to leave it in the vehicle or at the office.
- Multiple lenses: Changing lenses inside the canyon risks sand on your sensor. Choose one lens and commit to it.
- External flash: Prohibited on most tours and ineffective in a slot canyon. The walls are too far apart for bounce flash to work naturally.
- Drone: Prohibited on all Navajo Nation land. Do not bring one.
- Large backpack or purse: Most operators restrict them. The narrow passages make large bags a hazard.
- Selfie stick: Prohibited. The operator will confiscate it.
Post-Processing Tips
Antelope Canyon images benefit from careful post-processing. The goal is to enhance what you saw, not to create something that never existed.
- White balance: Start at 6000K and adjust to taste. The canyon is orange — do not try to make it neutral. A slightly warm white balance (5500–7000K) preserves the natural color. Going cooler than 5000K will make the walls look grey and lifeless.
- Exposure: Lift the shadows slightly to reveal wall texture. Pull back the highlights on the beam to recover detail. Use a graduated filter in Lightroom or Capture One to darken the sky opening without affecting the walls.
- Contrast and clarity: Increase moderately. The sandstone texture benefits from clarity, but too much creates halos and artifacts. A clarity setting of +10 to +20 in Lightroom is usually sufficient.
- Saturation: The canyon is already saturated. Increase vibrance (+10 to +20) rather than saturation, which affects all colors equally and can make the image look artificial.
- Sharpening: Apply mild sharpening (amount 50–70, radius 1.0, detail 25) with masking to avoid sharpening noise in the shadows.
- Noise reduction: If you shot at ISO 3200+, apply luminance noise reduction (20–40) to smooth grain without losing texture.
- Cropping: The canyon walls are curved — use the crop tool to straighten verticals if your wide-angle lens created distortion.
Avoid: Over-saturated orange that looks radioactive. HDR that creates halos around the beam. Clarity pushed to 100 that makes the sandstone look like concrete. The best Antelope Canyon images look natural — warm, textured, and dimensional.
Commercial Photography and Permits
If you plan to sell, license, or use your Antelope Canyon images for advertising, you need a commercial photography permit from the Navajo Nation. Personal photography for social media, prints for your home, and portfolio use do not require a permit.
The permit is obtained through the Lake Powell Navajo Tribal Park office on North Navajo Drive in Page. Fees vary based on usage. Contact the office at (928) 645-0268 before your visit. The permit process can take several days, so plan ahead.
Seasonal Photography Considerations
Spring (March–May)
Light beam season begins in late March. April and May offer the best combination of beam potential, mild temperatures, and manageable crowds. Morning tours have the best light. The canyon is dry — no mud, minimal water on the floor.
Summer (June–August)
Peak beam season and peak crowds. The light is strongest at midday, which is when the most crowded tours run. The canyon is hot — outside temperatures exceed 100°F, though the interior stays cooler. Sand is everywhere. Book photography tours well in advance.
Fall (September–October)
Beam season ends in mid-October. September still offers good light and slightly fewer crowds than summer. October is the transition month — some days have beams, some do not. The canyon is quieter, and the lower sun angle creates longer shadows and more dramatic contrast.
Winter (November–February)
No light beams. The canyon is darker and cooler. The advantage is solitude — winter tours are the least crowded of the year. The reflected light is softer and more diffuse, which can create subtle, moody images. Bring a jacket — the canyon interior is 5–10 degrees cooler than outside.
Frequently Asked Questions
Can you use a tripod in Antelope Canyon?
Not on standard sightseeing tours — tripods have been banned since 2019 at Upper and Lower Antelope Canyon. However, dedicated photography tours at Canyon X ($142), the 3 Canyon Photography Tour ($385), and the Night Photography Tour ($285) still permit tripods. See our slot canyon tours page for details on tripod-permitted options.
What are the best camera settings for Antelope Canyon?
Shoot in manual or aperture priority at f/2.8–f/4, 1/60–1/125 second shutter speed, ISO 1600–6400, and manual white balance of 5500–6500K. Shoot in RAW. Expose for the mid-tone walls and let the beams blow out slightly — you can recover highlights in post more easily than shadow noise.
Can you take good photos of Antelope Canyon with a phone?
Yes. Modern phones with HDR, ultrawide lenses, and night mode produce excellent results. Turn on HDR, use the ultrawide lens (0.5×), shoot in ProRAW or RAW if available, and stabilize the phone against your body or the canyon wall. Clean the lens frequently — sand builds up quickly.
When is the best time to photograph light beams in Antelope Canyon?
Late March through mid-October, between 11:00 a.m. and 1:00 p.m. The beams appear only in Upper Antelope Canyon. They move from east to west as the sun crosses the sky. Book a light-beam tour slot for the best chance of seeing them. Outside this window, the sun angle is too low.
How do you photograph light beams without a tripod?
Use a fast shutter speed (1/60 second or faster), wide aperture (f/2.8–f/4), and high ISO (3200–6400). Brace your body against the canyon wall, tuck your elbows, and use burst mode to capture multiple frames — one will be sharp. Increase exposure compensation by +0.3 to +1.0 EV.
What lens is best for Antelope Canyon?
A 16–35mm ultrawide zoom is ideal for capturing the full height of the canyon walls. A 24–70mm standard zoom works well for detail shots and mid-range compositions. A 70–200mm telephoto is useful for abstract texture shots of the sandstone curves. Choose one lens and do not change it inside the canyon — sand will get on your sensor.
Is flash photography allowed in Antelope Canyon?
Flash is strongly discouraged on all tours. It creates harsh, unnatural light in a space where the beauty comes from reflected, diffused natural light. Some operators explicitly prohibit flash. It also annoys other visitors in the narrow canyon.
How do you keep sand out of your camera in Antelope Canyon?
The fine sand is the biggest threat to your gear. Use a plastic shower cap to cover your camera between shots. Keep your lens cap on when not shooting. Bring multiple microfiber cloths. Do not change lenses inside the canyon. Blow dust off with a blower before wiping — rubbing sand into the lens coating will scratch it.
Can you sell photos taken in Antelope Canyon?
For personal use, social media, and portfolio display — yes, no permit needed. For commercial sale, licensing, or advertising use — you need a commercial photography permit from the Navajo Nation. Contact the Lake Powell Navajo Tribal Park office at (928) 645-0268.
What is the best time of year for photography in Antelope Canyon?
April–May and September–October offer the best balance of good light, manageable crowds, and comfortable temperatures. June–August has the strongest beams but the most people. November–February has no beams but the fewest crowds and softer, moodier light.
How do you avoid crowds in your photos?
You cannot entirely — the canyon is narrow and tours are continuous. But you can minimize people in your frame: shoot straight up at the walls and sky opening (no people above you), use a telephoto lens to isolate textures and curves, shoot at the front or back of your group when the guide pauses, and visit in off-season (November–February) when tours are smaller.
Should you shoot in RAW or JPEG in Antelope Canyon?
RAW is essential. The extreme dynamic range, unusual white balance, and need for post-processing adjustment make JPEG too limiting. If your camera or phone supports RAW, ProRAW, or RAW+JPEG, use it. The editing flexibility is worth the larger file size.
What is the best tour for photographers?
For tripod access and extended shooting time, the Canyon X Photography Tour ($142) or the 3 Canyon Photography Tour ($385) are the best options. For the iconic light beams without a tripod, book an Upper Antelope light-beam slot (March–October, 11 a.m.–1 p.m.). For night photography, the Night Photography Tour ($285) is the only option. See our Antelope Canyon tours page for booking details.
For a complete guide to photographing the Page area — including Horseshoe Bend, Lake Powell, and night skies — see our Page photography guide. For tour booking details and operator comparison, visit Antelope Canyon tours. For a comparison of all slot canyon photography options, see slot canyon tours.
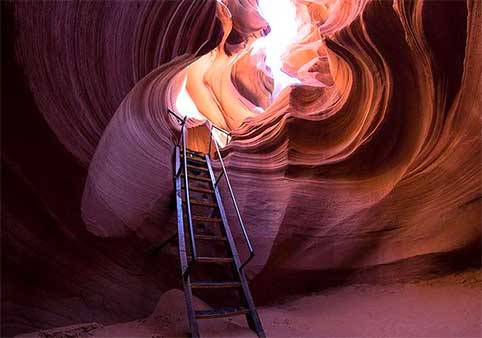
Small Group Antelope Canyon Day Trip from Phoenix
Benefit from a full-day tour from Phoenix to Antelope Canyon to see more of Arizona’s natural beauty. Take in Route 66, Flagstaff, the San Francisco Peaks, Lake Powell, and a Navajo Trading Post on the way to Antelope Canyon. Then explore Antelope Canyon with a Navajo guide, and see the … More
Benefit from a full-day tour from Phoenix to Antelope Canyon to see more of Arizona’s natural beauty. Take in Route 66, Flagstaff, the San Francisco Peaks, Lake Powell, and a Navajo Trading Post on the way to Antelope Canyon. Then explore Antelope Canyon with a Navajo guide, and see the Colorado River from the Horseshoe Bend Overlook. Meals and hotel pickup and drop-off are included. Choose between a small-group or private tour.
Tours from Phoenix
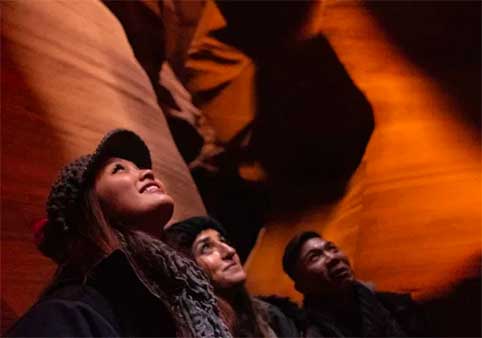
Antelope Canyon and Horseshoe Bend Tour
Tours from Flagstaff | Family-Friendly
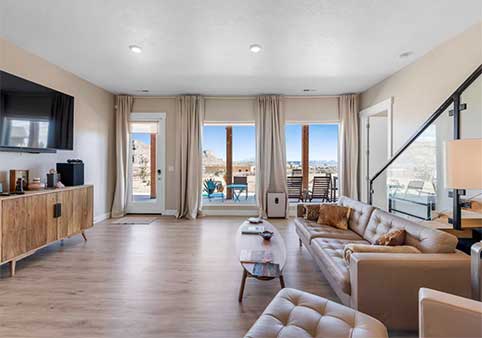
Lake Powell Sunrise Villa by Antelope Canyon
Firepits | Optimal Stargazing | Family-Friendly
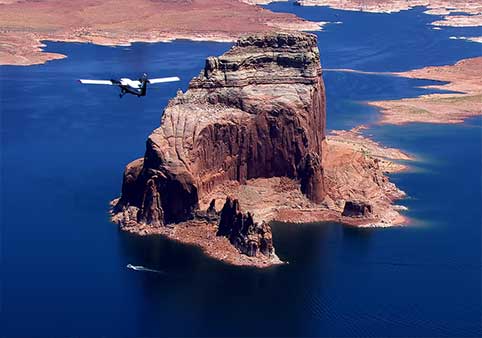
Las Vegas To Antelope Canyon Airplane Tour
This thrilling Antelope Canyon tour begins with a sightseeing airplane flight from Boulder City, Nevada, to Page, Arizona. En route, you'll enjoy aerial views of Lake Mead, Hoover Dam, and Glen Canyon. Transport awaits at Page Airport to escort passengers to some of the world-famous des … More
This thrilling Antelope Canyon tour begins with a sightseeing airplane flight from Boulder City, Nevada, to Page, Arizona. En route, you'll enjoy aerial views of Lake Mead, Hoover Dam, and Glen Canyon. Transport awaits at Page Airport to escort passengers to some of the world-famous destinations in this area. The adventure begins with a stop at the Horseshoe Bend overlook, the 270° curve of the Colorado River that has long been a photographer's favorite. This viewpoint is just a short hike before you encounter the iconic scenery.
The next stop in the journey is nearby Antelope Canyon for a guided tour of its interior wonder. Led by a Navajo guide, the winding slot canyon offers unique views you won't capture anywhere else, so have your camera ready. You'll explore the twisting canyon floor created by rippling stone walls and enjoy picturesque moments.
Family-Friendly | Tours from Las Vegas
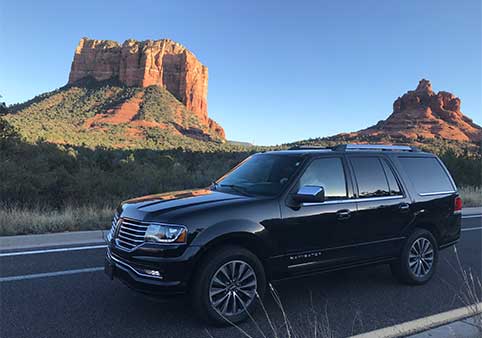
Arizona Private Tours
Custom Options Available | Family-Friendly | Tours from Flagstaff
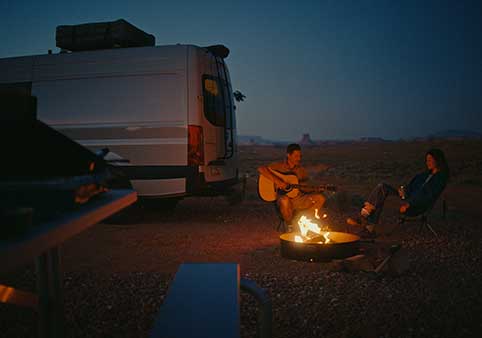
Roam America Horseshoe Bend
Pet-Friendly | Laundry | Firepits | Pool | Access to Trails | UTV Friendly | RV Campground | RV Sites | Cabins Rentals | On-Site Dining | General Store

Lake Powell Taxi Services
Private Tour | Custom Options Available | Native (Dine) Operated | Family-Friendly
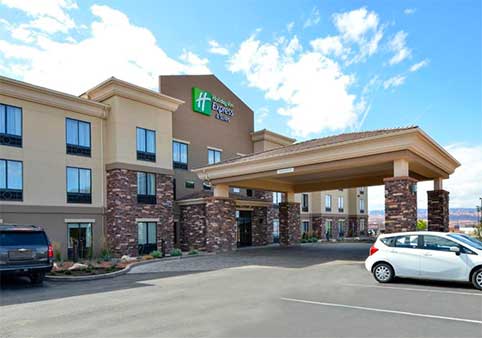
Holiday Inn Express Hotels Page, an IHG Hotel
Featuring an outdoor pool, this hotel is in Page. Each room has free Wi-Fi and a flat-screen cable TV. Wahweap Marina is a 15-minute drive from the hotel. A free breakfast is served daily.
A sitting area with a work desk, a small refrigerator and coffee-making facilities are avai … More
Featuring an outdoor pool, this hotel is in Page. Each room has free Wi-Fi and a flat-screen cable TV. Wahweap Marina is a 15-minute drive from the hotel. A free breakfast is served daily.
A sitting area with a work desk, a small refrigerator and coffee-making facilities are available in all guest rooms at Holiday Inn Express Hotels Page. A private bathroom with a hairdryer is also included.
Guests can take advantage of a fitness center and a business center at Page Holiday Inn Express Hotels. Laundry facilities are also available. The property provides free parking.
Lake Powell is a 5-minute drive from the hotel. Wahweap Airport is 9 miles from Holiday Inn Express Hotels Page.Family-Friendly Suites | Free Breakfast | Fitness Room
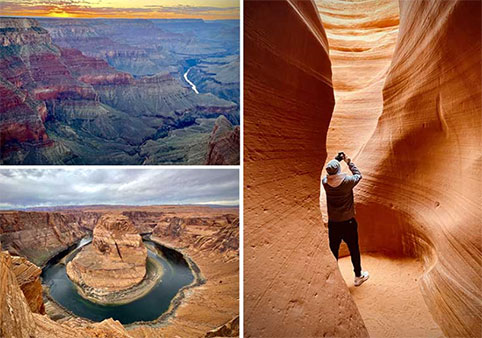
3 Day 2 Night Private Roundtrip Tour from Phoenix / Scottsdale
Tours from Phoenix
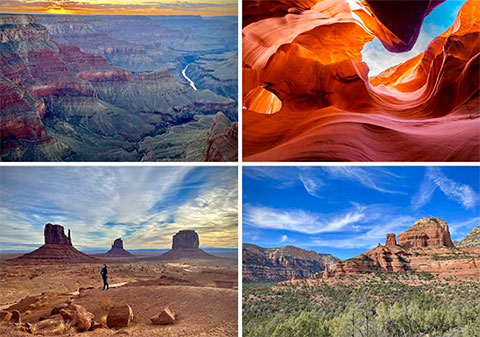
4 Day 3 Night Private Roundtrip Tour from Phoenix/Scottsdale
Private Tour | Tours from Phoenix
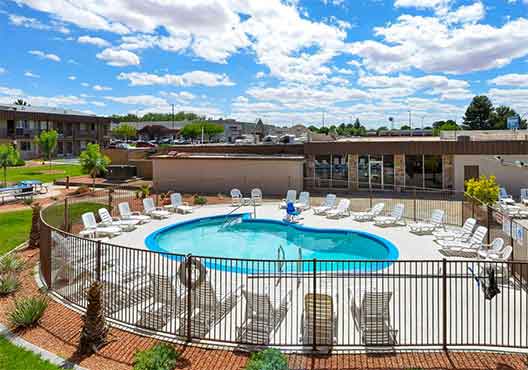
Rodeway Inn
Pet-Friendly | Family-Friendly Suites | Free Breakfast | Pool | Walking Distance to Restaurants
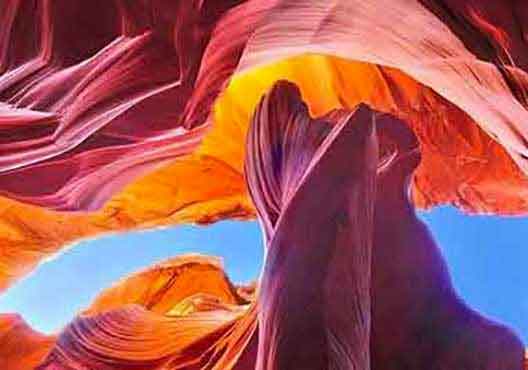
Upper Antelope Canyon Ticket
Private Transportation: Antelope Canyon and Horseshoe Bend from Las Vegas
Come Explore Antelope Canyon and Horseshoe Bend. Jump onboard your private tour vehicle from Las Vegas and we will transport you to a magical place! Experience Antelope Canyon & Horseshoe Bend, with private transportation. The original Navajo name Tsé bighánílíní means … More
Come Explore Antelope Canyon and Horseshoe Bend. Jump onboard your private tour vehicle from Las Vegas and we will transport you to a magical place! Experience Antelope Canyon & Horseshoe Bend, with private transportation. The original Navajo name Tsé bighánílíní means "the place where water runs through rocks." Antelope Canyon's sculpted sandstone walls offer memorable photo opportunities with a walkable corridor at the bottom of the canyon floor. It was formed by flash flood waters that rushed into the cracks of the Navajo sandstone along with the power of wind erosion. With the daylight dancing through the narrow openings from the top provides multiple kinds of light reflections and colors. This amazing changing color show makes this area a popular destination for photographers and tourists. From the canyon, you will visit an area where the Colorado River makes a 280 degree turn around the Horseshoe bend shape of the rock, hence its name of Horseshoe Bend.
Tours from Las Vegas | Private Tour
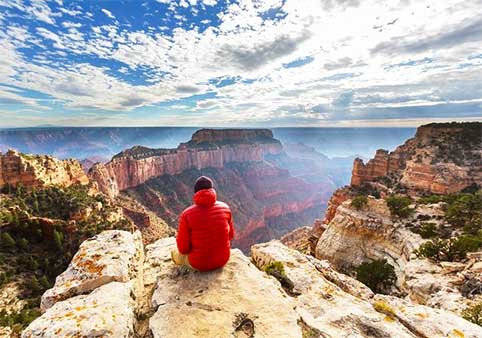
Grand Canyon South Rim, Antelope Canyon, Horseshoe Bend Day Tour from Las Vegas
Explore three of Arizona's most visited natural wonders in one day on this extended day trip from Las Vegas. Hike to Horseshoe Bend for a spectacular view along the Colorado River, admire the unique light beams at Antelope Canyon, and marvel at the Grand Canyon from the South Rim viewpo … More
Explore three of Arizona's most visited natural wonders in one day on this extended day trip from Las Vegas. Hike to Horseshoe Bend for a spectacular view along the Colorado River, admire the unique light beams at Antelope Canyon, and marvel at the Grand Canyon from the South Rim viewpoints. Along the way, drive along part of Route 66, and stop at the atmospheric town of Seligman.
Tours from Las Vegas
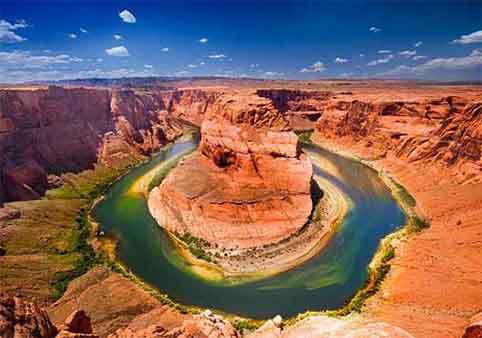
Antelope Slot Canyon and Horseshoe Bend Day Tour from Sedona
Tours from Sedona
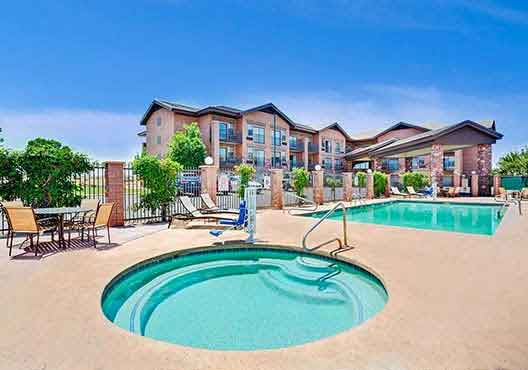
Days Inn & Suites
Pet-Friendly | Free Breakfast | Family-Friendly Suites | Great Location | Pool | Hot Tub | Walking Distance to Restaurants
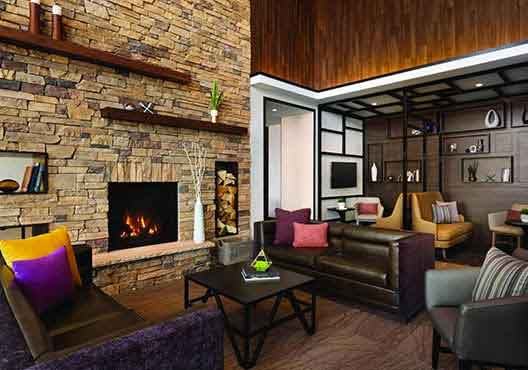
Hyatt Place
Pool | Hot Tub | Pet-Friendly | Free Breakfast | Great Location | Hotel Bar
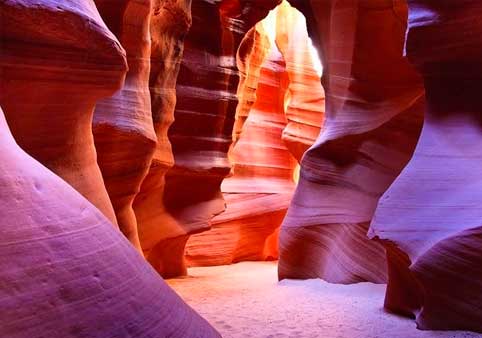
Lower Antelope Canyon & Horseshoe Bend Tour from Las Vegas
Get out of Las Vegas for the day, soak up the views of some of the country's most striking landscapes, and be back on the Strip in time for a show. This guided tour takes you to the sandstone slot canyon of Antelope Canyon and to the dramatic Horseshoe Bend, carved from Navajo sandstone … More
Get out of Las Vegas for the day, soak up the views of some of the country's most striking landscapes, and be back on the Strip in time for a show. This guided tour takes you to the sandstone slot canyon of Antelope Canyon and to the dramatic Horseshoe Bend, carved from Navajo sandstone.
Tours from Las Vegas
La Quinta Inn & Suites
Pool | Hot Tub | Free Breakfast | Pet-Friendly | Family-Friendly Suites
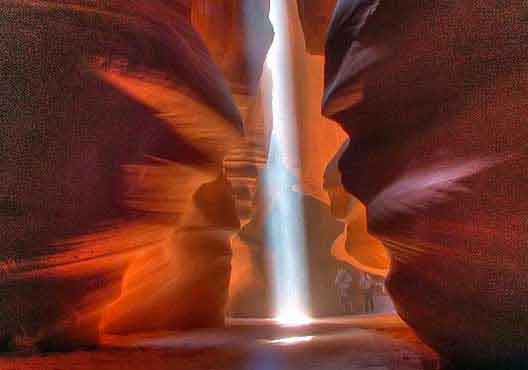
Antelope Slot Canyon and Horseshoe Bend Day Tour from Flagstaff
Tours from Flagstaff
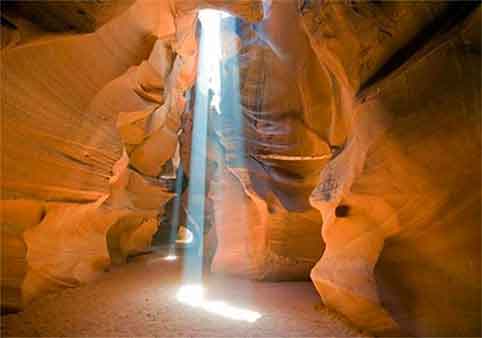
Antelope Canyon and Glen Canyon Scenic Tour
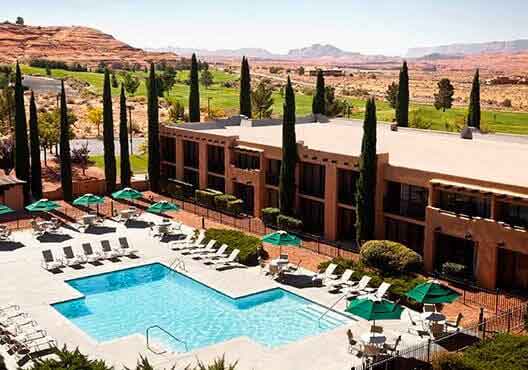
Courtyard Marriott
Pet-Friendly | Hot Tub | Pool | Great Location | Restaurant on Site
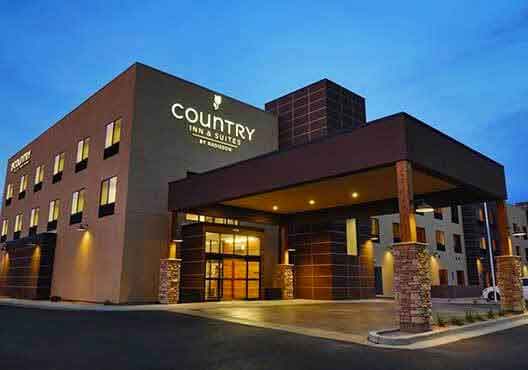
Country Inn & Suites
Family-Friendly Suites | Free Breakfast | Hotel Bar | Great Location | Hot Tub | Pool
Local Business Spotlight